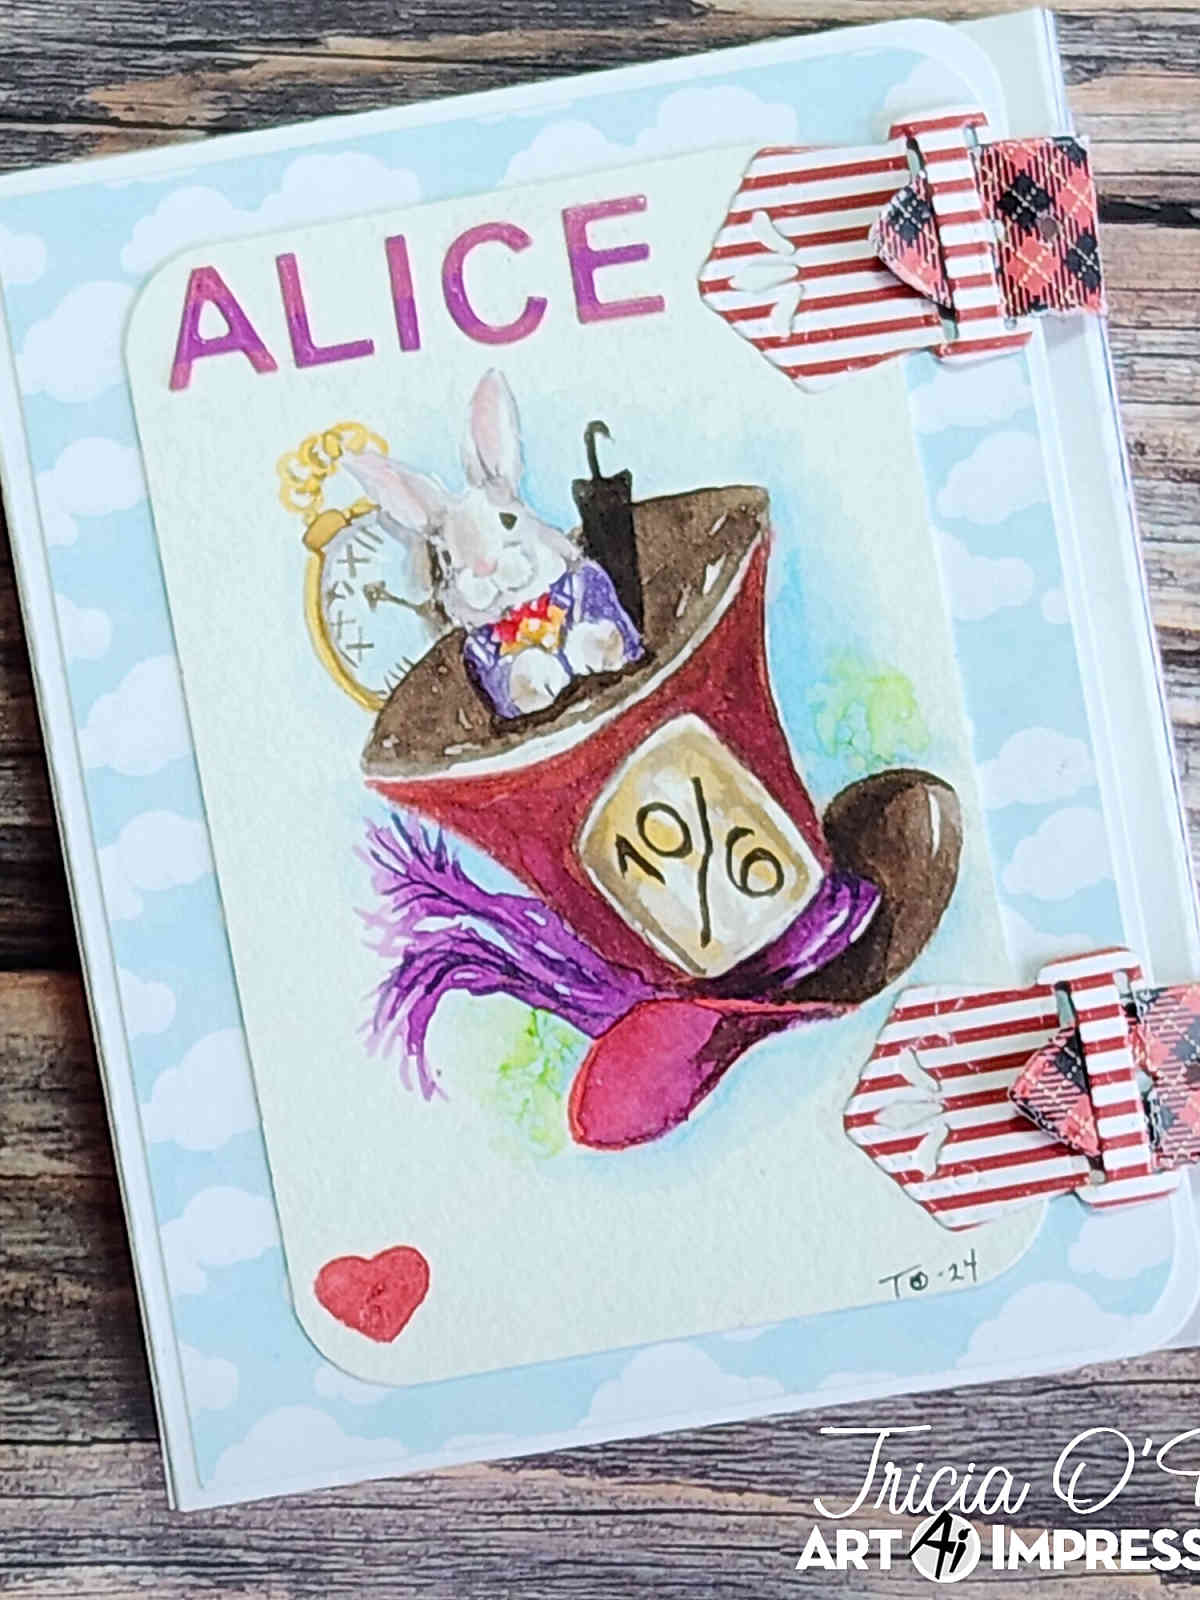
Watercolor weekend is upon us once more. Head over to the Art Impressions blog to see all the quarantine inspiration my girls have to share to keep your spirits high. I am sharing A Little Sunshine with you today using some of the new watercolor stamps.
Project Details
Step 1: To begin, I cut my watercolor paper with my rectangle stitched die.
Step 2: I used my MISTI positioner to place one of the Poppy border stamps into the corner of the paper. Using 249, I inked up the leaves and stamped them onto the watercolor paper. Then, I inked up the blooms with 606 and stamped them.
Step 3: I flipped the paper around, reinked the stamp with the 249 and 606, and stamped it. This created a frame. I used water to soften the leaves and blooms. (TIP: Leave the stamp in the MISTI in case you want to stamp some additional color on to the leaves or blooms)
Step 4: I added some 493 (or any blue) to my palette and added a lot of water to create a really light wash. I added it to the middle of my paper for a background.
Step 5: I added the rosebud to my MISTI, inked it up with 177 and 856 and stamped it onto a separate piece of watercolor paper. To soften the bud and leaves, I added water with my brush. Next, I added some wink of stella to the rose to make it stand out. In order to get some depth, I added some foam tape to the rosebud, stem and leaves and placed it into the middle of the Poppy frame.
Step 6: I really wanted to give the flowers and leaves some dimension so I lightly traced below and some of the leaves and flowers on the Poppy’s and rosebud with a light gray marker.
Step 7: I placed the piece back into the MISTI and stamped the Sending you a little sunshine sentiment from the scrapbook.com Daisy set using Gina K Designs Amalgam Ink. Lastly, I signed my work.
CARD DETAILS
I added the watercolor piece to a Gina K Designs Black Onyx mat and added that piece to the Neenah Solar White card base using Gina K Designs connect glue.
Thank you so much for taking some time to visit the Art Impressions blog for some inspiration. I know things are tough right now and I am so thankful not only to have a hobby, but to have one that allows me to decompress and be happy. I love everyone in this industry!
I hope you all have a wonderful day and stay safe and healthy!
Related: Flowering Bird Bath | Watercolor Weekend | Art Impressions


pretty!
I love the shadows you created under the flowers. Very pretty card!
Beautiful as usual. But I wish you would be sure to show the photo of the card in the beginning of your posts so it appears in the top of blog feeds so we know what we are opening. It would be more helpful.
Thanks