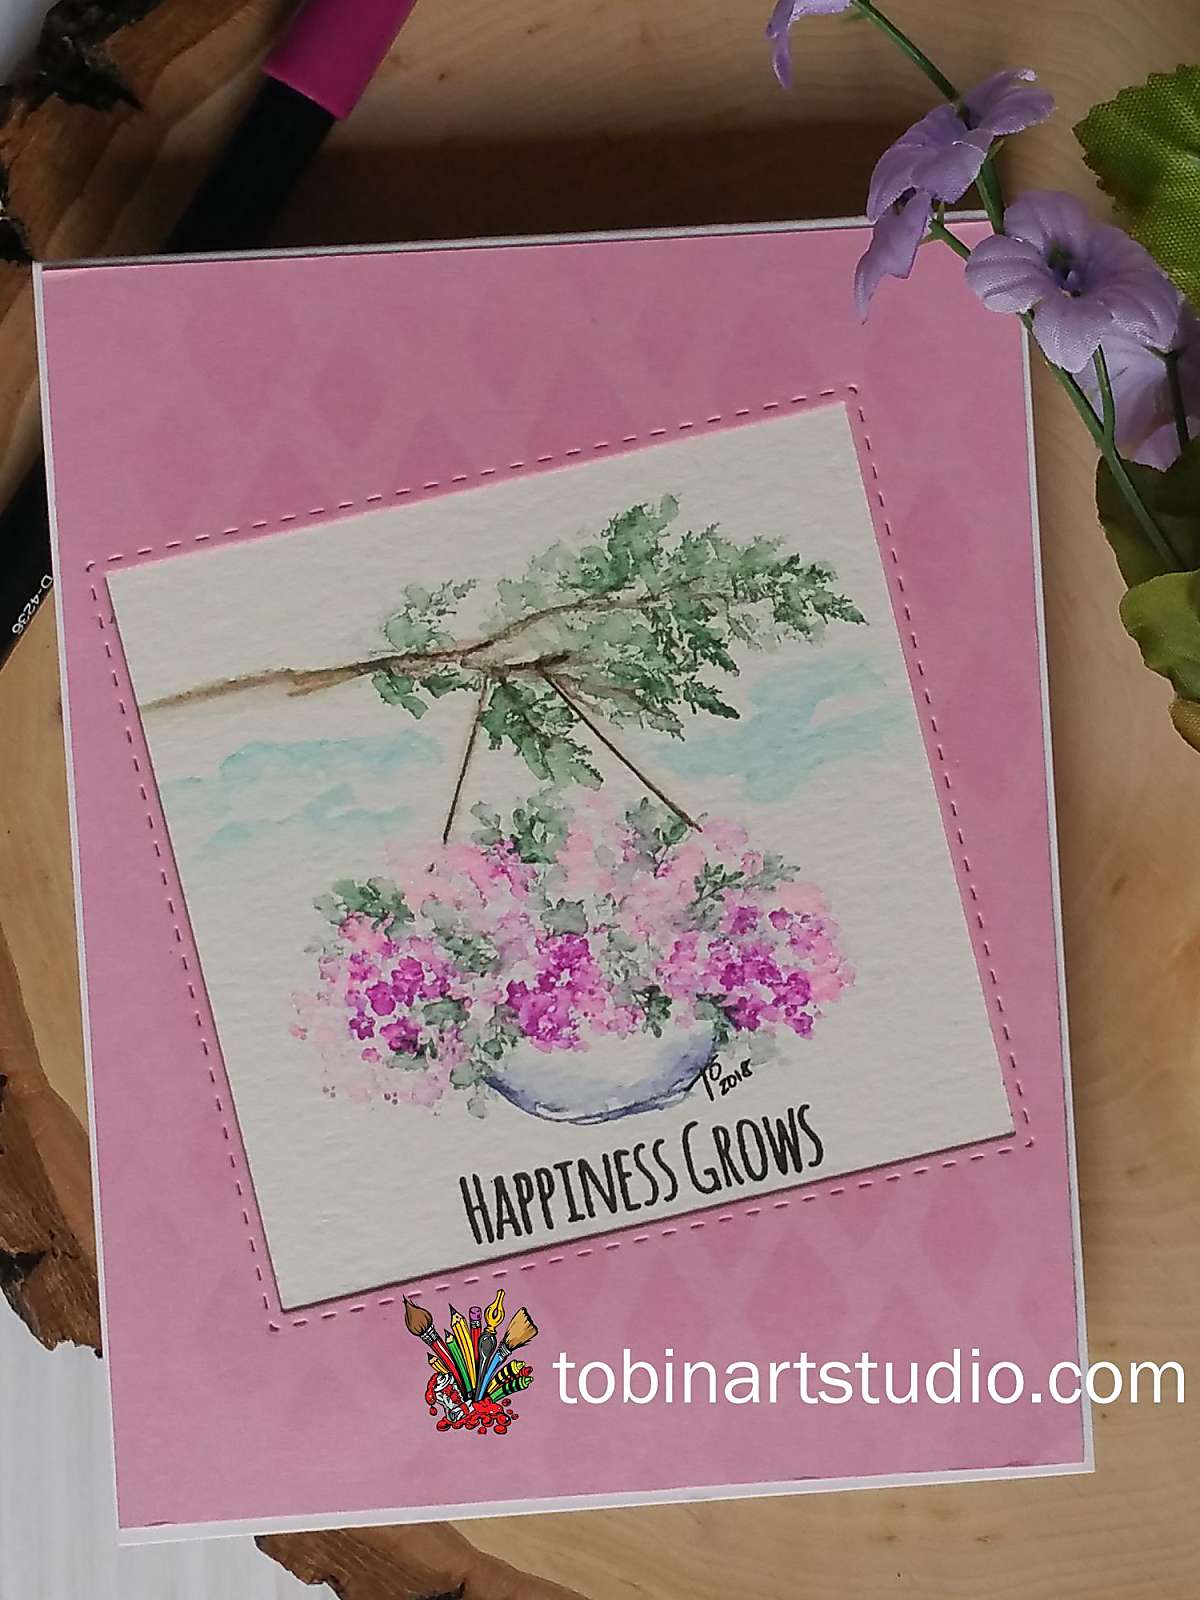
Welcome to another Art Impressions Watercolor Weekend over on the AI Blog. Sometimes a simple spring basket of flowers is the perfect focal image for any occasion. This spring basket, created with Art Impressions stamps, is simple but beautiful. I have uploaded a quick video to show you how to create your own spring basket.
Hanging Spring Basket Card Details
Step 1 – the Branch and the pot
Stamp the branch twice using Sepia. Ink up the bottom of the pot from the Southwest set in African Violet. Using water and your paintbrush, soften the lines making sure to keep the darkest areas on the left and right of the pot.

Step 2 – the Flowers and Foliage
Ink the daisy bunch with Magenta and jump it around the pot to create the look of a bunch of flowers. Add water to soften the blooms. I try to soften the flowers from light to dark. To create the foliage, ink the small leaf stamp from the Foliage set 2 with Pine Green. Add water and soften.

Step 3 – Finishing Touches
To finish up, ink up the fir bough topper with Pine Green and stamp it multiple times around the branch. Use water to soften the lines keeping the integrity of the lines. I added a sky using Manganese Blue. Finally, sign and date your painting.

To finish up the card, I stamped the sentiment from the sentiments step using my Misti and Black ink. I cut a stitched square from some Gina K Designs Bubblegum card stock. I used a retired Stampin Up! stencil and some VersaMark to create a pattern.
I hope you will stop on over to the Art Impressions Blog so you can check out my awesome team mates Tricia Kennedy (@triciadollkennedy) and Dot Iris (@dotjiris) to see what they came up with this weekend! As always we want to see what you do with your Art Impressions stamps, tag us on Instagram with #AIWatercolor!
Related: https://www.tobinartstudio.com/easy-watercolor-painting/
Check out the video: https://youtu.be/HsnXwkuvg8A
Supplies:


