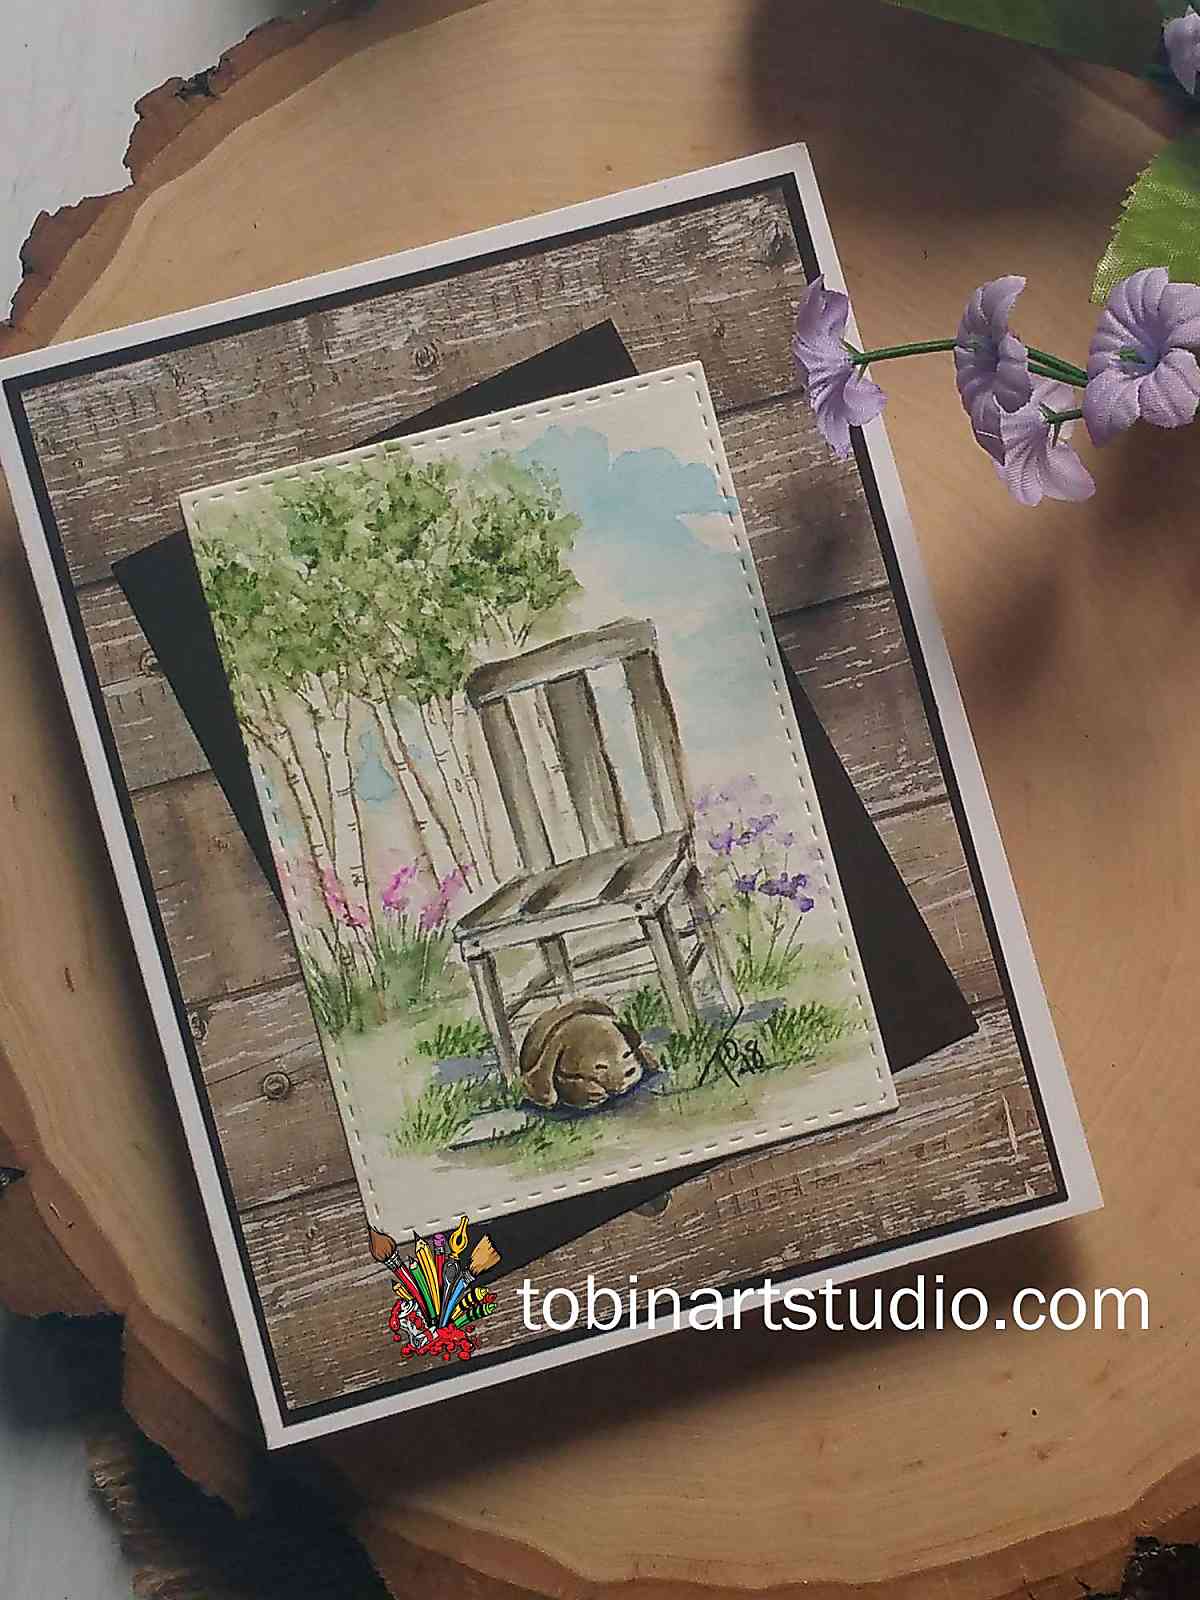
Hello Art Impressions Fans and welcome to another Watercolor Weekend. I am excited to share my Sleeping Dog project with you. This is a fun summer project that is easy to create! My design team colleagues and I would love for you to join us on Instagram using #AIWatercolor.
Sleeping Dog Card Details
I started off my stamping the sleeping dog from the mini critters set in Sepia at the bottom of my watercolor paper. The first step, as always, is to pull the color out of the lines. Be sure to use the fine tip of the marker to darken the eyes and nose. These details are very small and could get washed out with the water. Slowly build the color up using the watercolor palette. Make sure you keep the face and the right side of his (or her) face light with white space to ensure the dog will be dimensional. You can use your fine tip to darken in some of the areas for more depth on and beneath the dog.
The next step is to cut a mask of the dog to protect him. I inked up the chair using Sepia and African Violet and stamped onto my stamp positioner. I positioned it over the dog and stamped a second generation image. Pull the color out of the lines and add some additional Sepia from the palette. I also mixed some of the Sepia with some African Violet to create a gray color, this adds to the weathered look of the chair. Create another mask for the chair.
Once the chair and the dog are covered, ink the brick cobblestones with Sepia and African Violet and stamp them beneath chair. Using water, pull the color out between the bricks. You can also use a little color on top of the bricks for more interest.
Ink up the small grass with Olive Green and stamp it sporadically around the underneath of the chair. You can replace the dog mask to make sure you don’t stamp over him. Pull the color out of the lines.
Cover the chair with the mask. I cut out the left side to make sure the trees would stamp in the negative space. I inked the Birch Trees from the Covered Bridge set in Sepia and Olive Green (at the top) and stamped it on my positioner. I placed it where I wanted it and stamped it. I used my fine point to extend the trees. I pulled the color to the outside of the trees (as they are white) to give them depth.
Using water around the top of the tree will create a green base for the leaves. I used the leaf stamp (looks like a bunch of hearts) from the Covered Bridge set with Olive Green to create the leaves.
Underneath the trees, I used the left and right wildflowers from the Garden Wagon mini set inked in Olive Green and Magenta. I stamped it several times beneath the trees. I used the flower bunch inked in Olive Green and Violet to the right of the chair.
To finish the card I added some Blue to the sky and between the openings of the chair. To finish, I added my signature and the date.
Putting the card together
I cut the watercolor piece out using my Big Shot machine and my rectangle stitched die. I cut a mat from Dark Chocolate card stock from Gina K Designs set off center. The wood background is patterned paper cut to 3.875 x 5.125. I cut another Dark Chocolate mask at 4 x 5.25. These were all mounted using Connect Glue from Gina K Designs and mounted on a piece of Neenah Solar White card stock scored at 4.25.
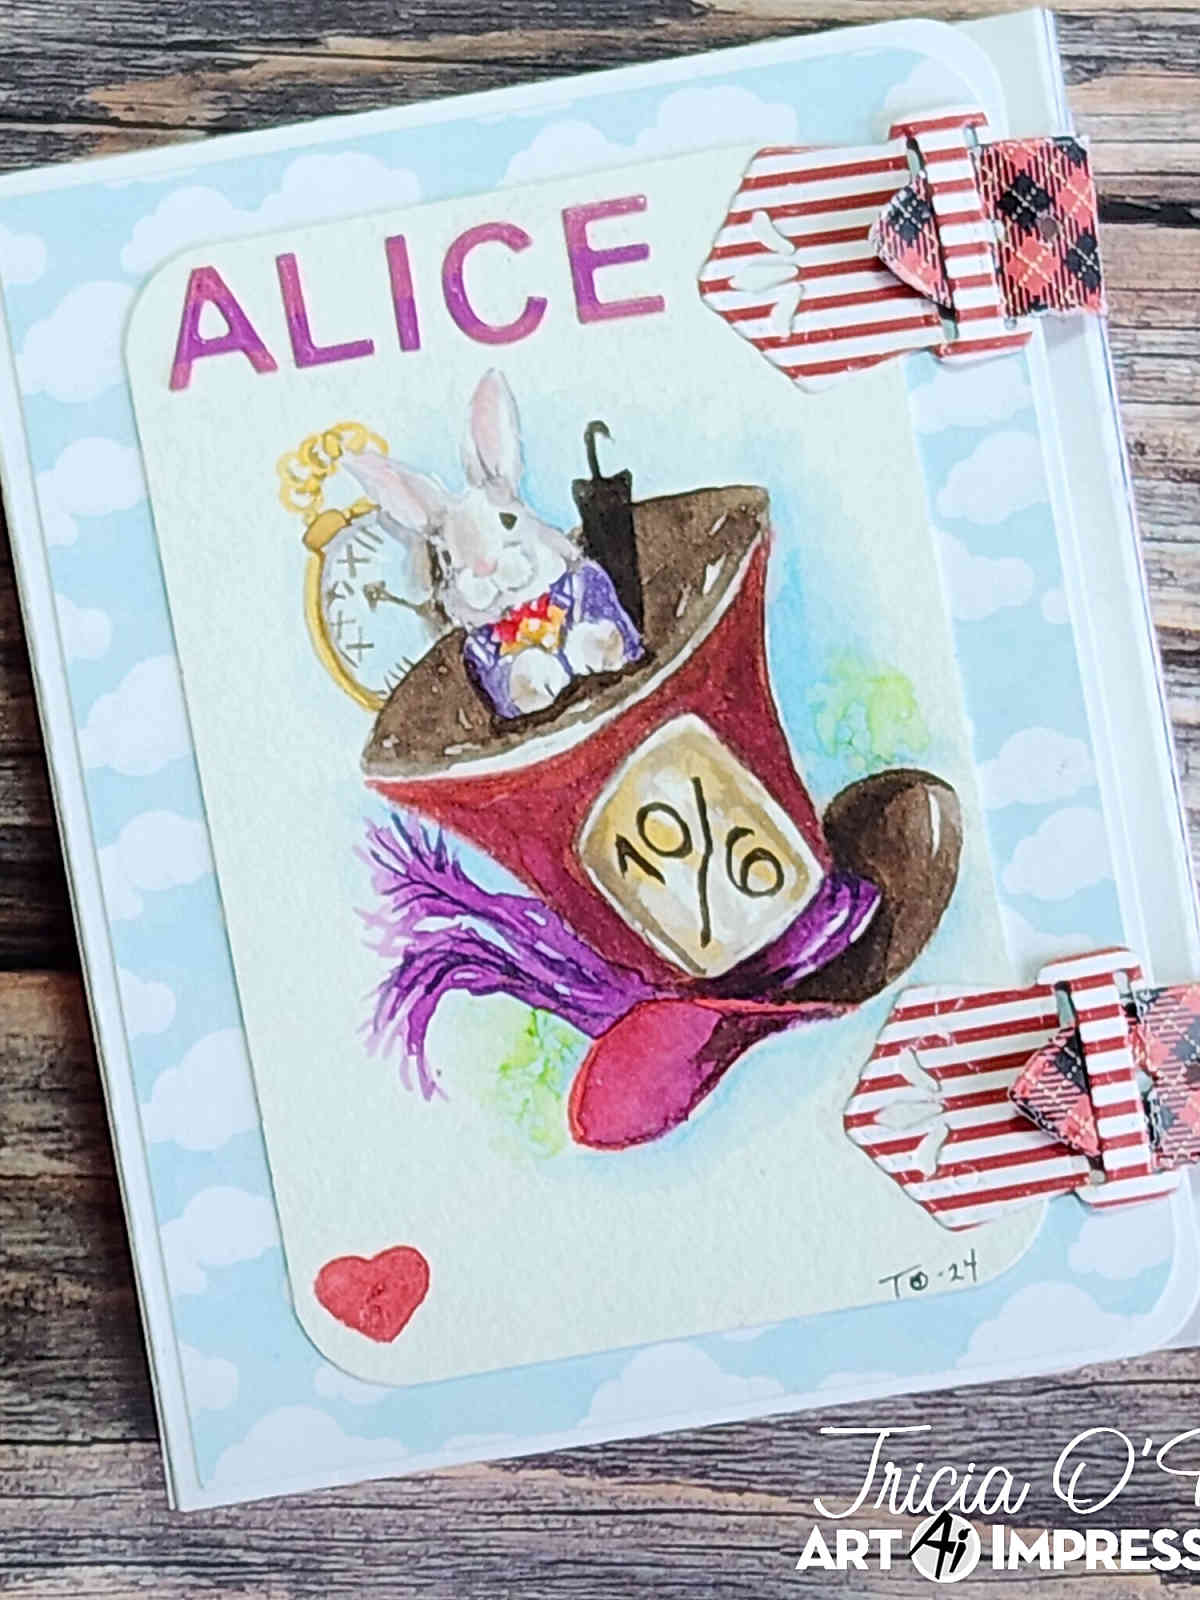
That is my card for this week (I know a little long winded). I hope you will join us for Watercolor Weekend. Make sure you check out Dot and Tricia’s cards on the Art Impressions Blog.
Related: https://www.tobinartstudio.com/spring-door/
Supplies


So very pretty, love the trees in the back too.