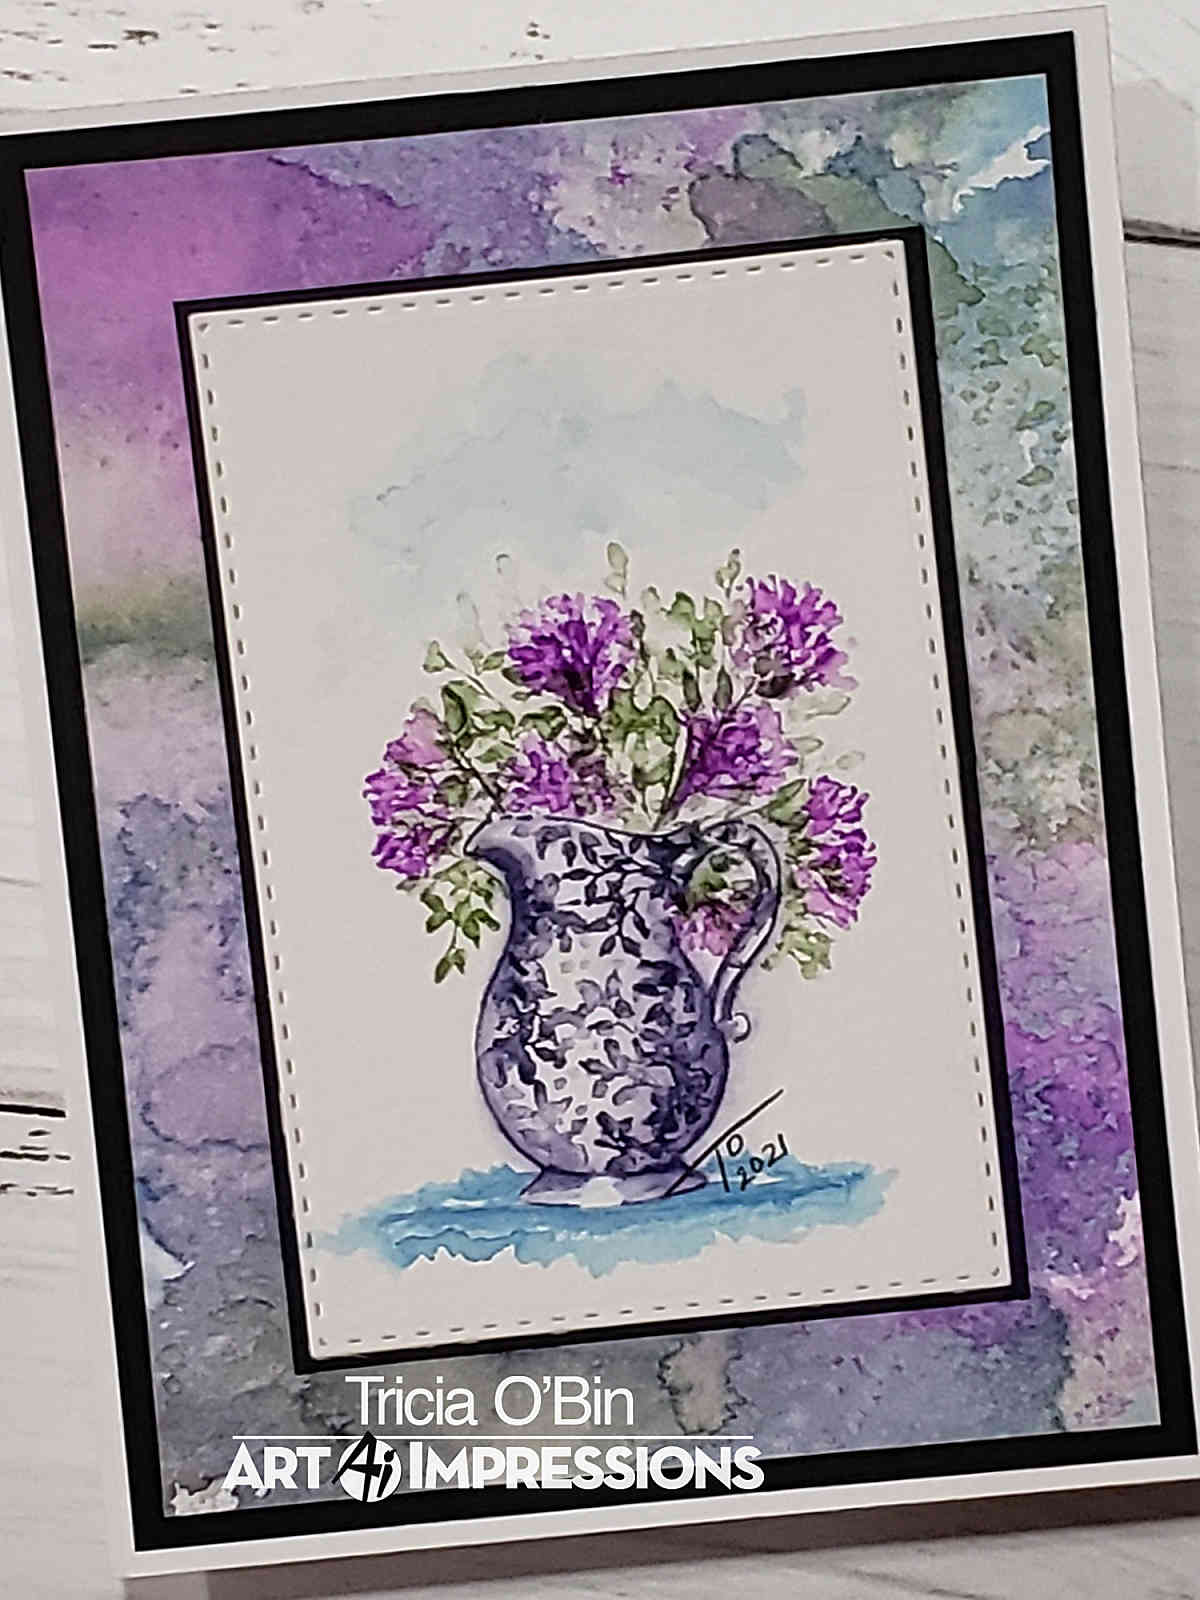
Hey watercolor fans, are you ready for a fabulous weekend of inspiration. Well, you are in the right place. I decided to do a vase of flowers with a cool pattern that reminded me of blue china. Let me tell you how I created my Spring Vase of Flowers.
The Painting
First I started out by stamping my vase inked with 569. Before I add the vines, I pulled the color out of the lines and added darker shadows using my palette. Next, I fussy cut a mask and used the negative space so I could stamp the small vine on the vase without worrying about stamping into my background (make sure you put the mask in the middle of the handle). I inked the small vine with the 569 and stamped it around my vase. I practiced this on several (and when I say several I mean like 10 times) to see what type of pattern I wanted. I tried to make sure the lighter leaves were in the center of the pot to maintain the highlight. I added a small amount of water to them. To create a little depth, I pulled some color to the outside.
I added some 528 to the bottom of the vase to ground it. I wanted it to look like a shaggy type of placemat. To protect the vase while I added my foliage and flowers, I took the mask that I cut and laid it over the vase. I inked my flowers with 665 and stamped them in a fanlike shape to make them look full. Once I added the water to them, I came back in and stamped in some additional color to give them a little more depth.
For the foliage, I inked up the vine with 177 and added them around the flowers and over the sides of the vase. I added water to the vines. Finally, I took a little of the 528 from my palette and created a very light sky. Lastly, I signed and dated my painting (I didn’t forget this time, phew…).
The Background
Using the markers I used for my painting (177, 528, 665, and 569), I scribbled them on my Tim Holtz Glass Media Mat. I made sure not to scribble colors that are opposite on the color wheel (Green (177) and Pink (665)) close to each other. Next, I spritzed it with water (not too much – two pumps…ish). I took a blank piece of water color paper, laid it into the ink, and left it for a few seconds and lifted it up.
I waited a few seconds for the ink to dry, and then picked it up and turned it and laid it into the ink again. I did this several more times until I was happy with the results. Once it was really dry, I added a little more water to the ink left on my mat and laid it into the ink several more times. This gives some great depth and interesting hard edges.
This is one of my favorite techniques because it allows me to create a background that matches my painting exactly (and it’s lots of fun and you can create TONS of backgrounds in a really short period of time). PSA: It’s addicting!
The Card
I cut out the painting with my stitched rectangle die and back it and my watercolor background with black cardstock. I added it all to a Neenah white cardstock base.
That’s it, this came together really quick and easy and I think the pattern on the vase creates such a cool look. I hope you will give this a try and I can’t wait to see your Creative Containers! Check out the other inspirational projects that my team mates have created. Tag us on Instagram so we can see your beautiful creations.
Have a crafty day! See you next time!

Related: Spring Arrangement | Watercolor Weekend | Art Impressions
SUPPLIES:


You use Linkdeli. I wanted to purchase something you used in your video. I picked the item and it took me to Linkdeli. There was no way I could see the item. It was a dead end for me. Please explain to me how to see the items. Thank you.
Hi June, which product on which video, ill take a look. Should take you to the product unless its discontinued and no longer on the site.