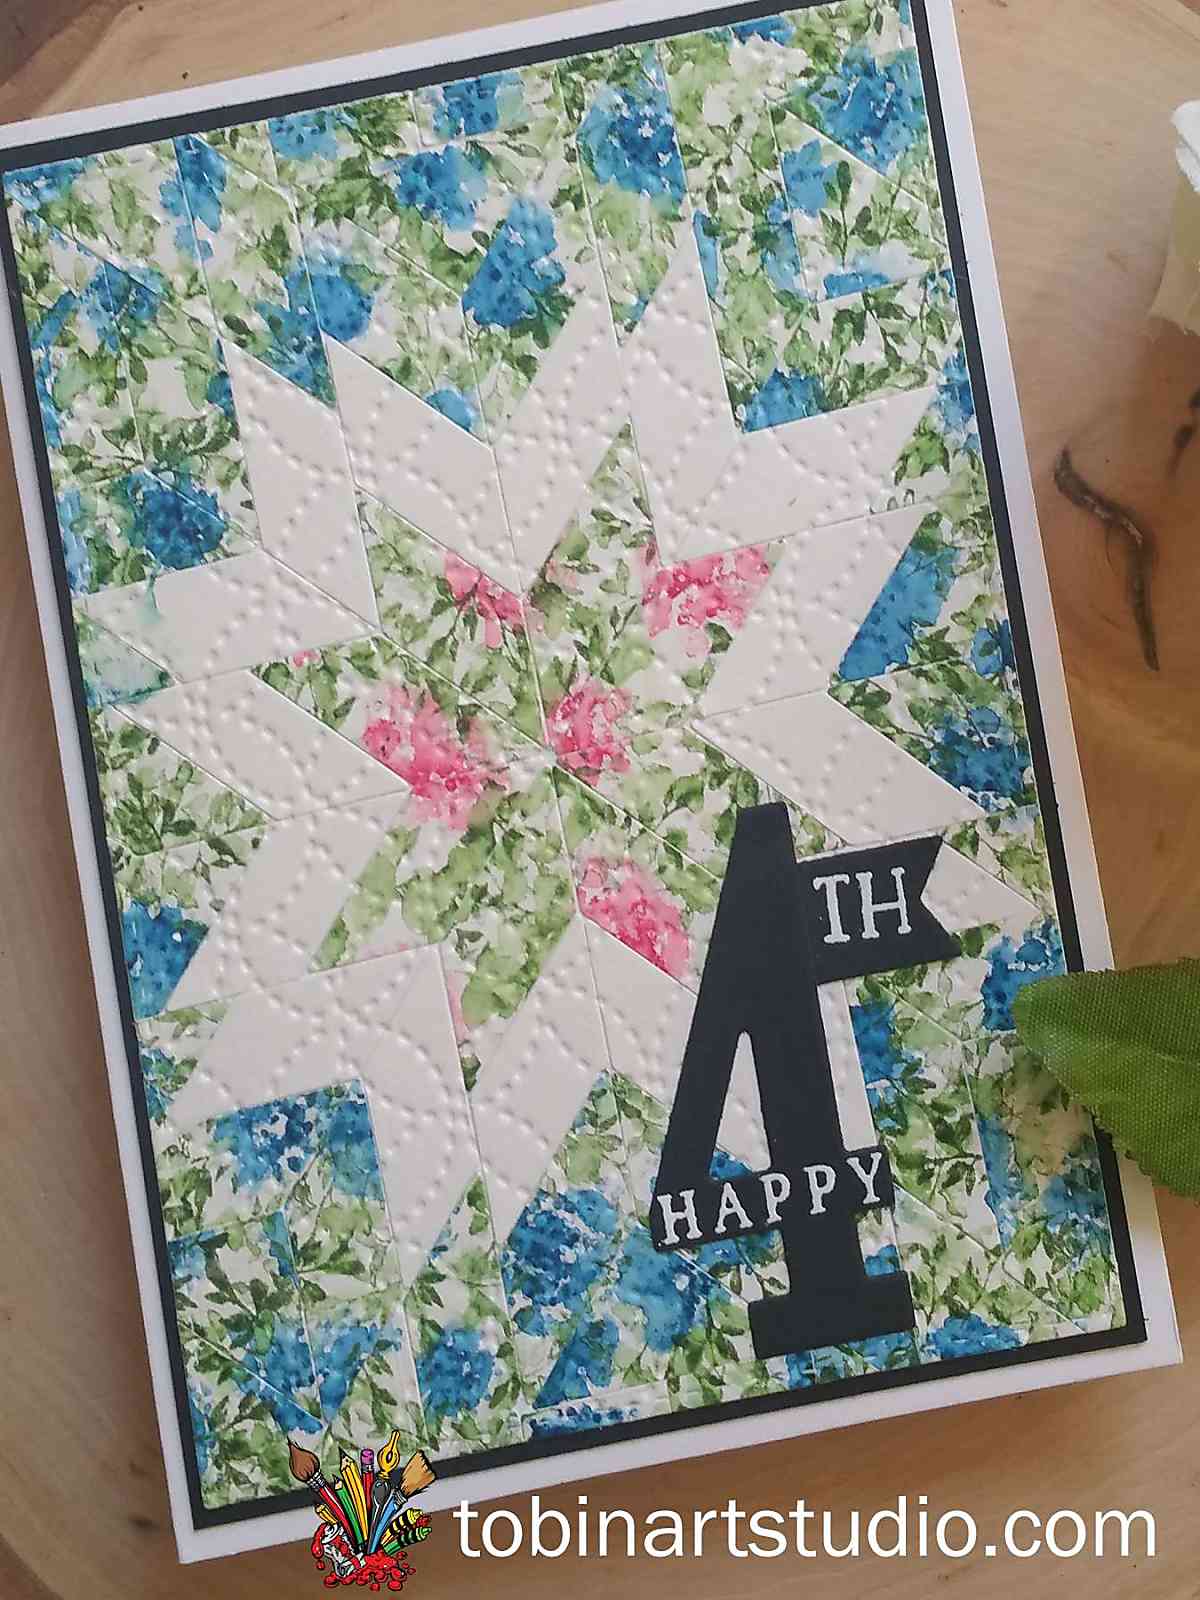
Hi Everyone, welcome back to another Art Impressions watercolor weekend roundup. I love using my stamps to create a unique patterned paper. I wanted to create a watercolor floral in red, white and blue for my Star Quilt Card. Although it takes some time, I am really liking the look of Quilt Cards.
Check out the video here!
Star Quilt Card Details
I backed several pieces of watercolor paper with Stick It adhesive. Using the Stampin Up! quilt die, I cut several pieces from white watercolor card stock.
I created my patterned paper by filling the watercolor paper with flowers. To create the flowers, I used the daisy bunch from the original flowers set and the vine from the original foliage set. The die can be used as a guide for where to put your flowers. I watercolored one corner using Crimson Lake and Olive Green. I filled the rest of the page in with Prussian Blue and Olive Green.

I die cut each corner using the Stampin Up! quilt die. After each run through my big shot machine, I attached a post-it note to the back to hold all the pieces together. This helped make it easier to put the quilt together.
I removed the frames and saved them for another project. Now it’s time to assemble the card.

Draw a dot in the middle of a piece of white card stock. Mine was a standard 4.25 x 5.50 size note card. I knew I was going to cut it down and mount it.

Starting with the red flowers, I started working my way around dot in the middle of the card and assembled the star.

I then added the white pieces and then the blue pieces. I continued to add the cut pieces until the entire background was filled. I cut some of the pieces hanging off the edges to fill in any missing smaller areas.

Once the entire background was complete, I used my bone folder to apply pressure to the entire background. This will ensure the Stick It adhesive really adheres to the paper. Stick It is re-positionable until you press it down. I used a rectangle die to cut the piece. I mounted it on a piece of Black Onyx card stock from Gina K Designs.

I ran the piece through my die cut machine using a quilt embossing folder to give the piece the look of a quilt. I die cut the 4 and flag from a retired Stampin Up! die numbers set. I embossed the TH and Happy using versamark and white embossing powder.

I hope you will try some new techniques with your stamps. We would love to see what you come up with! Post your project to Instagram using #AIWatercolor. Make sure you check out the Art Impressions Blog and my fellow team members projects, they are sure to inspire!
Related: https://www.tobinartstudio.com/quilted-watercolor-card-watercolor-weekend-art-impressions/
Supplies:


What a beautiful card! Love it!
This is stunning. Thank you for the detailed tutorial.