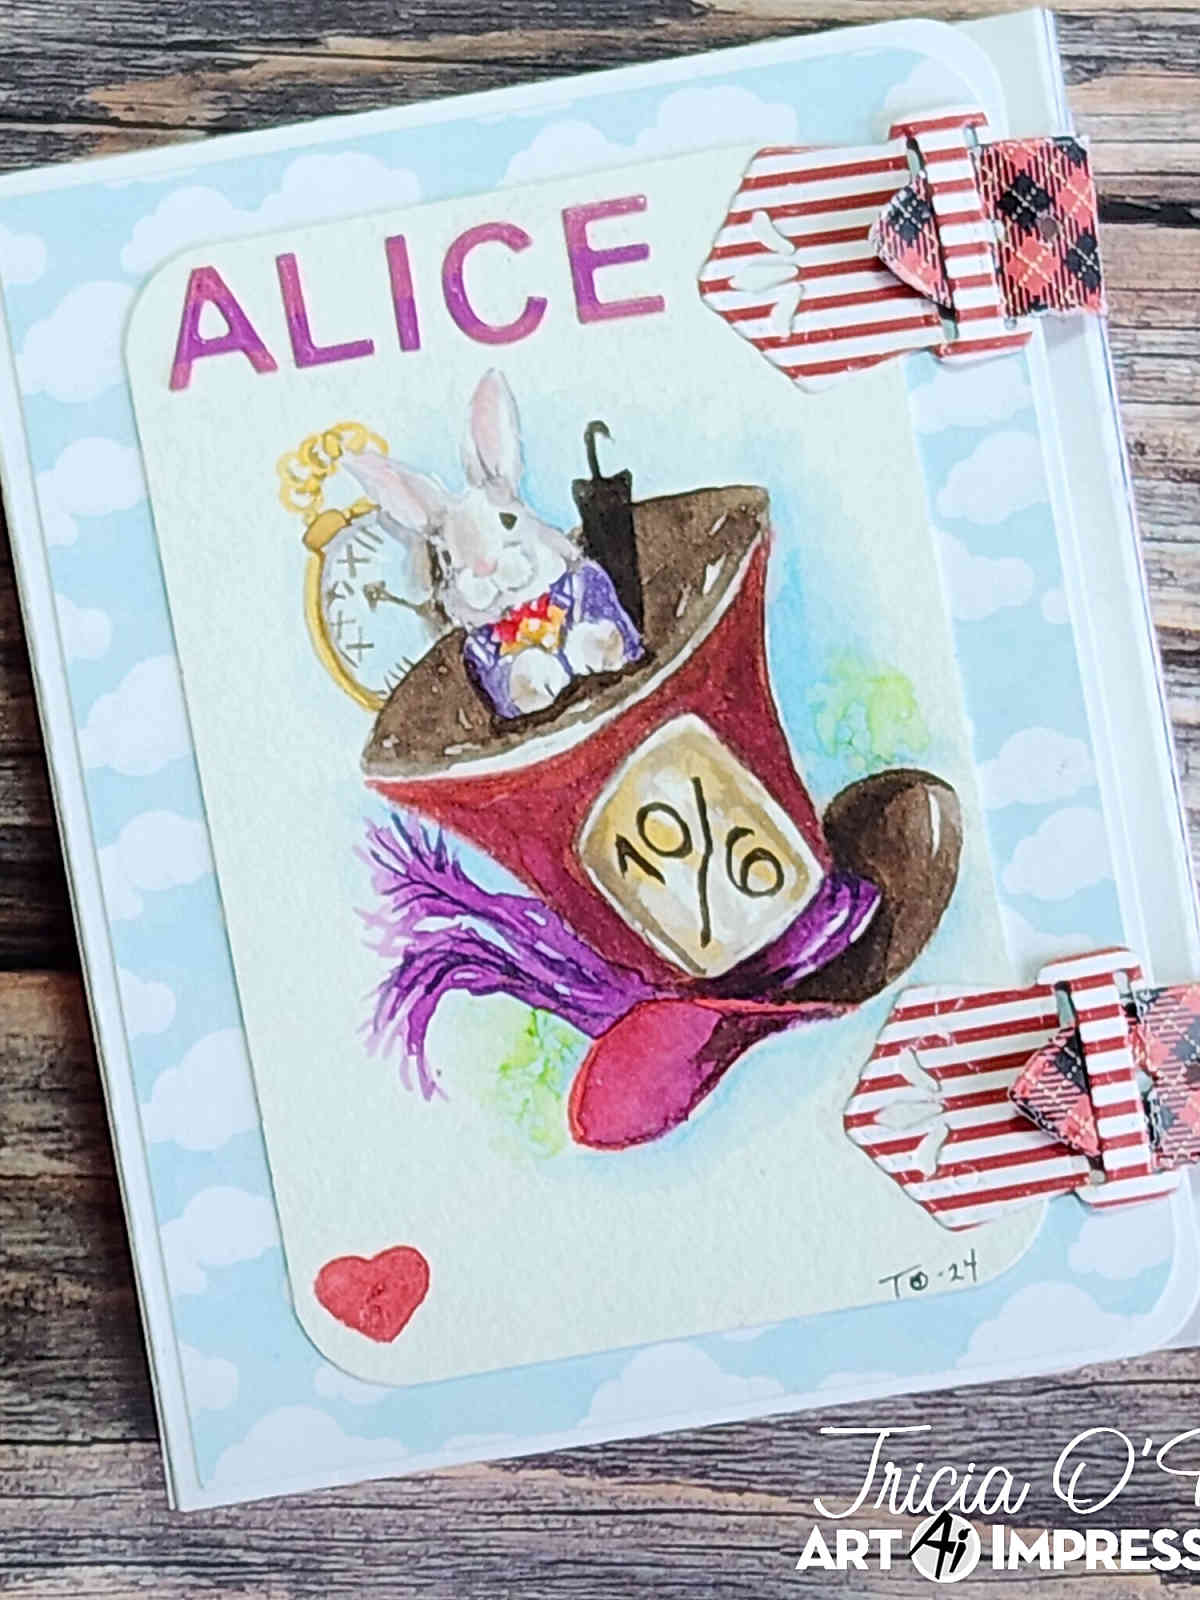
Hello watercolor fans! I am back again today with my project for Art Impressions watercolor weekend. With Valentine’s Day coming, I know we all need to make some cards for the sweet people in our lives. I wanted to create a simple Valentine Love card to share with you.
Check out the video here!
Card Details
Step 1
To start the project, I stamped the boy from the 5054-WC Little Boys Set inked in Pale Cherry (912). I wanted to keep the color light, however, I was doing this in a Sepia type color scheme, so I could have just inked it up with Chocolate (969). In order to keep this on the lighter side, I stamped it off prior to stamping on my watercolor paper.
As with all projects, we start off by pulling the color out of the lines. Because he is pointing towards the left of the paper, that is where I imagine my light source to be. Therefore, everything to the right of him will be darkest (right side of hat, right side of sleeve and pants. Using the palette, you can add more color (slowly).
Step 2
Next, I wanted to make it seem like he had a bouquet of flowers behind his back so I left off the right side of the stamp (between the top and bottom of his shirt). I masked off a portion of the bottom of his shirt so it would protect any rogue stems. Using the small stem from the 5009-WC Mini Flower Set, inked in Rubine Red (755) and Dark Jade (177).
In order to get it in the right place, I used the stamp positioner. Once I stamp down the first flower, I added additional flowers without re-inking. I added water to the blooms and a very small amount to the stems. I also added some additional Chocolate (969) below the flowers to make it look like the bottom of his hand.

Step 3
To create a little depth, I added some Chocolate (969) to my palette and added a little bit to the background behind him.
Step 4
To stamp the sentiment, I used my MISTI to line up and stamp the sentiment from the 4753-In The Air Set, which I inked up using my Gina K Designs Dark Chocolate ink.
Step 5
I cut the watercolor piece out using a Tim Holtz tag die and then adhered it to a piece of Dark Chocolate card stock from Gina K Designs. I cut out the heart embellishments from the 4803-Mouse Slider Set and added them to my project (Dark Chocolate, Bubblegum & Cranberry Tart card stock from Gina K Designs).
Step 6
I sponged the background using a stencil from Gina K Designs (I don’t believe it is available any longer). I used Tim Holtz Distress Ink (Picked Raspberry & Spun Silk) as well as Altenew Cotton Candy Ink. First I inked up the Spun Silk and ink blended it onto a piece of Solar Crest 80 lb card stock. Next, I rotated the stencil 90 degrees and inked it up with Cotton Candy. Again, I rotated the stencil and inked it with Picked Raspberry.
Step 7
Finally I cut the blended piece out with the stitched rectangle die. Using the next largest die, I die cut out a mat from Gina K Designs Cranberry Tart card stock. The final mat is cut from Gina K Designs Dark Chocolate card stock.
I assembled the card using Tombow multi mono liquid glue. This strong glue will ensure your project stays together. To finish off the card, I added some Xmas Red and Fruit Punch stickles to the hearts. That’s It! That’s my Valentine Love card!
Related : https://www.tobinartstudio.com/watercolor-valentines-heart/
Thank you so much for spending some time with me on your weekend. I hope you have some time to watercolor. Make sure you share your projects with us on Instagram using #AIWatercolor and tag us so we can see!
Enjoy your weekend and see you next month!!
Supplies:
Tombow markers used: 912, 969, 177, 755


