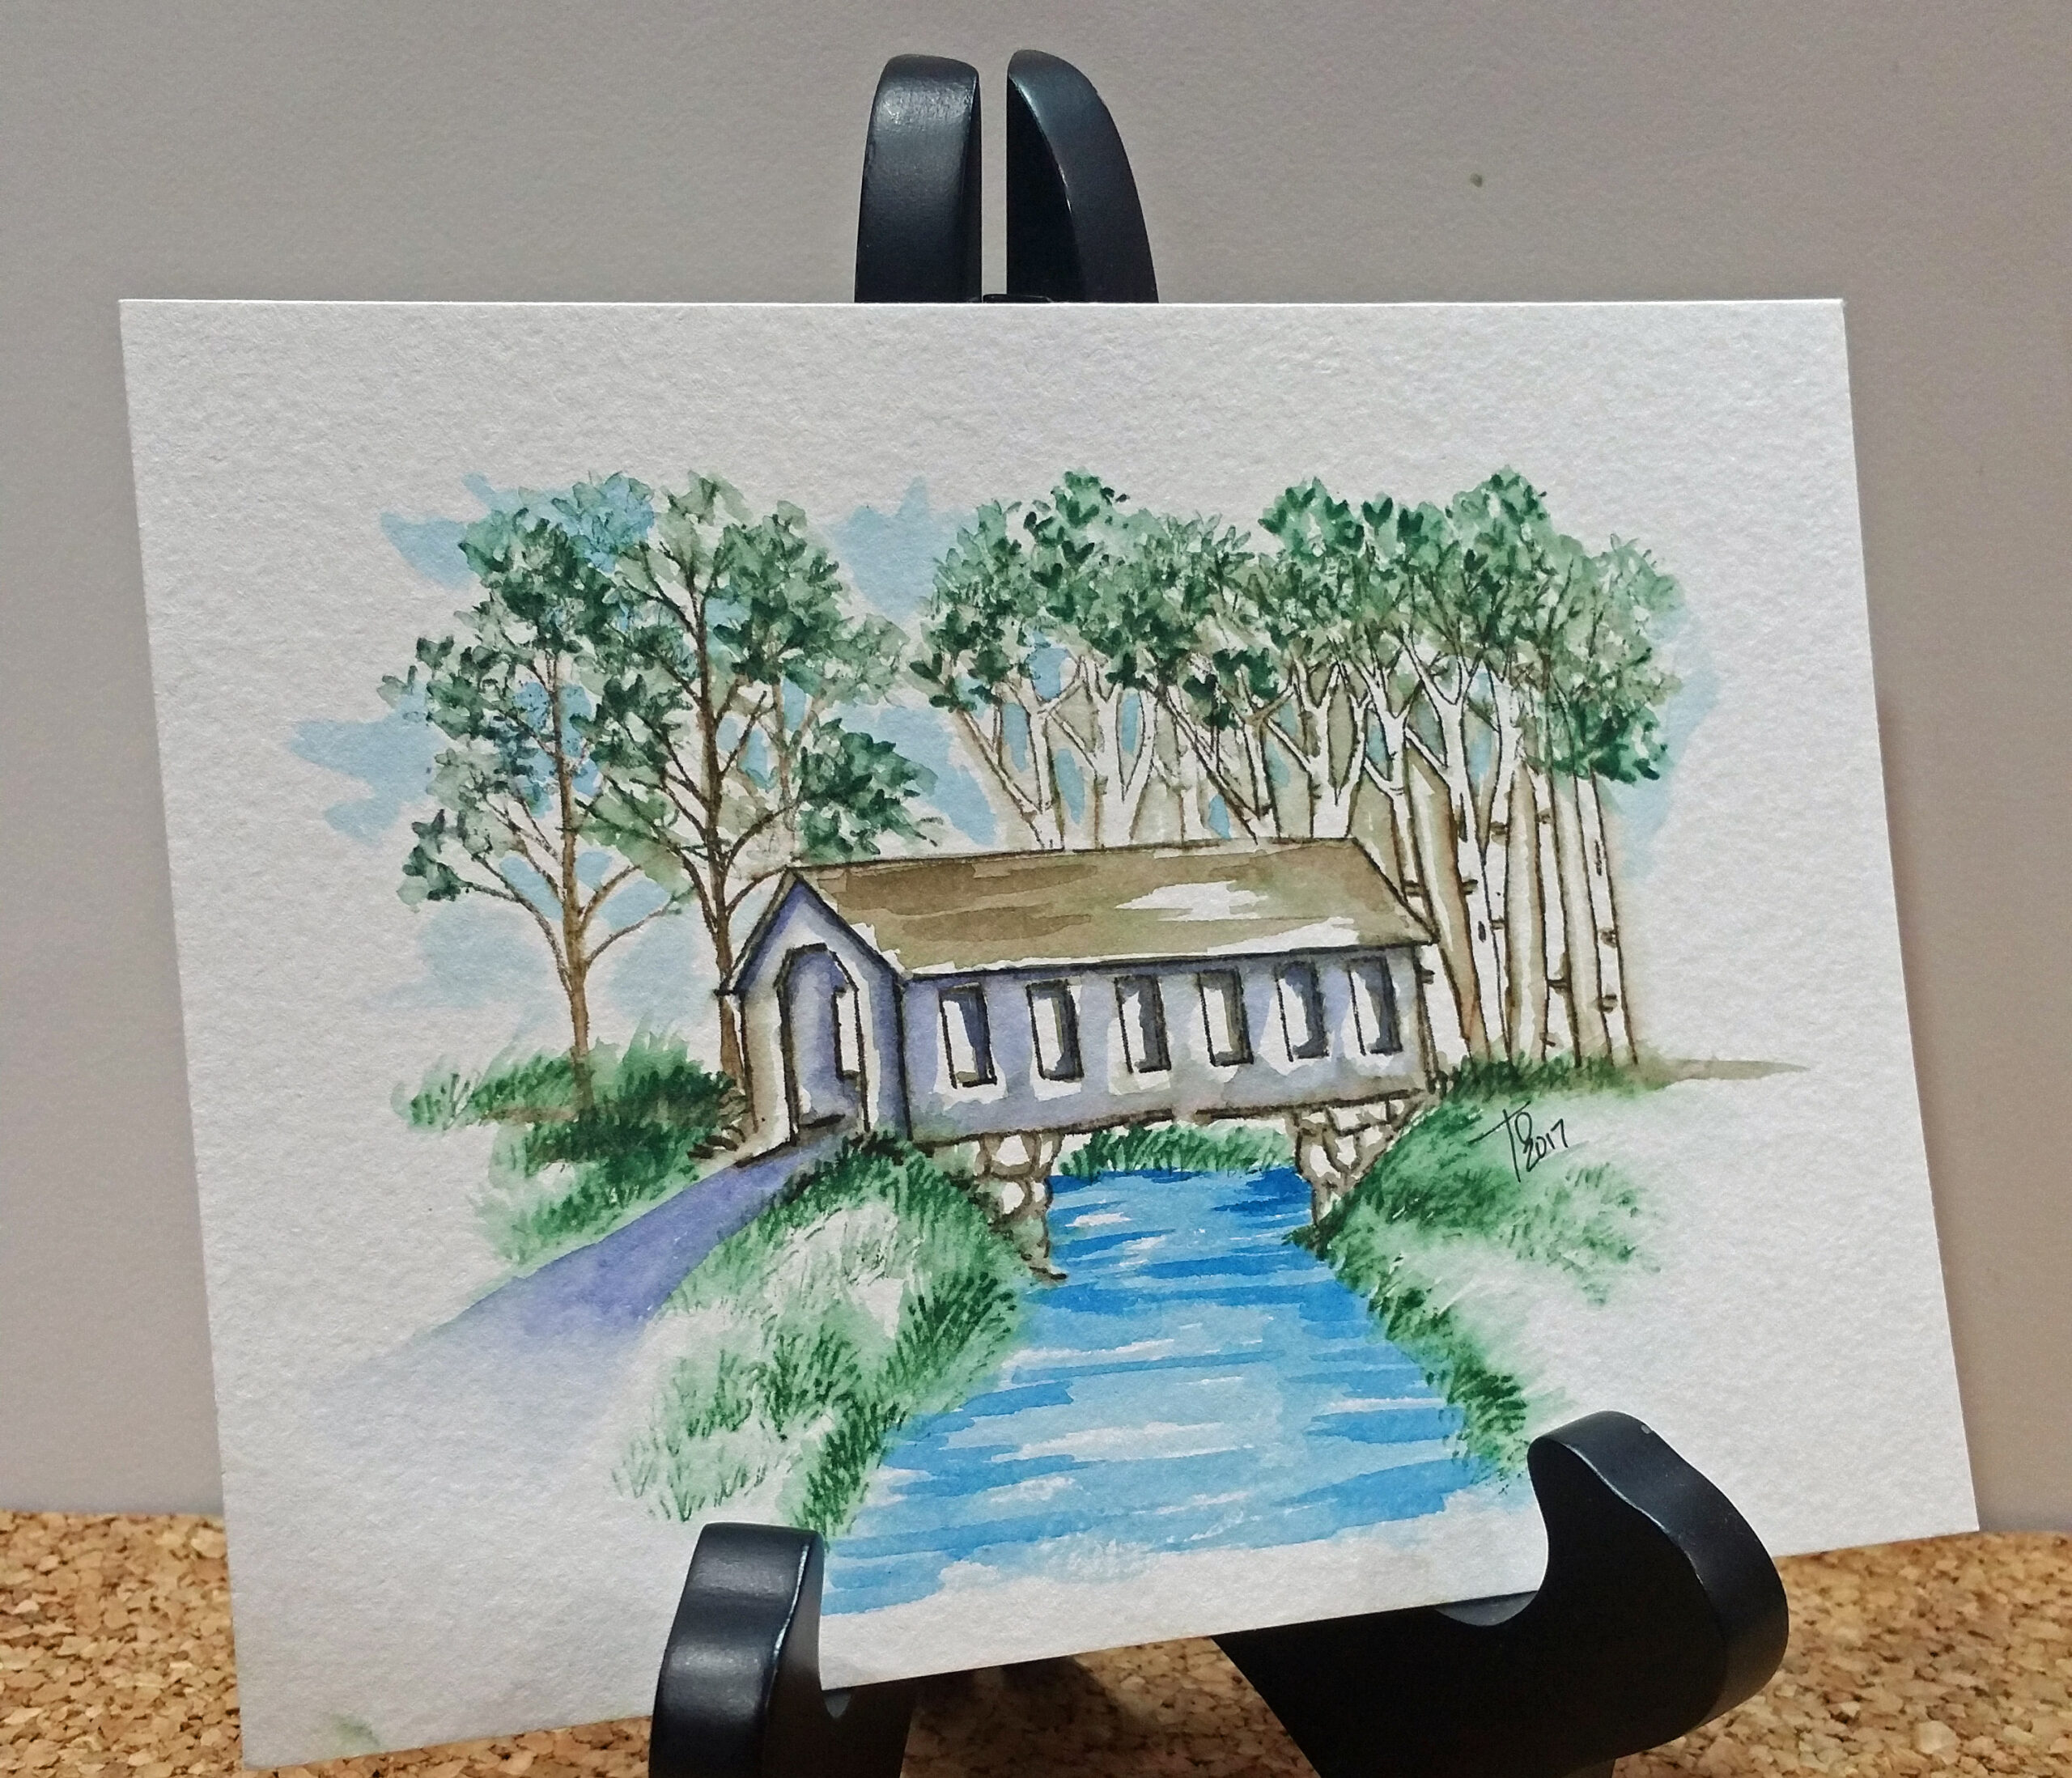
Who doesn’t love a covered bridge? Well, being from New Hampshire, I love them. When Art Impressions came out with this new watercolor set, I was in love. I also love the trees that come in the set. In this watercolor tutorial, I am going to show you how to make your very own Covered Bridge watercolor project.
Fun Fact
Among New Hampshire’s 54 covered bridges is the world’s longest two-span covered bridge. Shared with Vermont, the Cornish-Windsor Bridge stretches for 450 feet (137m) across the Connecticut River. The oldest covered bridge still in use in New Hampshire is photogenic Bath-Haverhill Bridge. Built in 1829, it crosses the Ammonoosuc River, off Route 302.

The details
In order to create this project, you will need the Covered Bridge Mini Set along with the Foliage set 1 (small grass). See the products list below.
First I inked the Covered Bridge stamp with African Violet. I stamped it off on a piece of scratch paper. I inked it again with Sepia and Pine Green, stamped it into the middle of the watercolor paper.
I pulled the color out of the lines keeping areas darker than others. Using my palette, I added some Sepia to the roof and African Violet to create shadows.

I cut a mask from a post it note and used it to protect the image and allow the trees to be stamped in the background.

I stamped the trees and softened the lines around the trees and created a background for the leaves. The small flower stamp within the set can be used to define the leaves.

I used my watercolor palette and Blue to create the river beneath the bridge and sky behind the trees. The small grass was added to complete the painting. Remember to sign and date your work.
Want more?
Would you like to paint this scene? Head over to my YouTube channel and follow along. Need stamps? Click on the links below to purchase your own stamps and markers and join me for my next episode.
Thanks for stopping by and have a crafty day!


I love covered bridges! Love the facts and picture you posted. Beautiful tutorial.