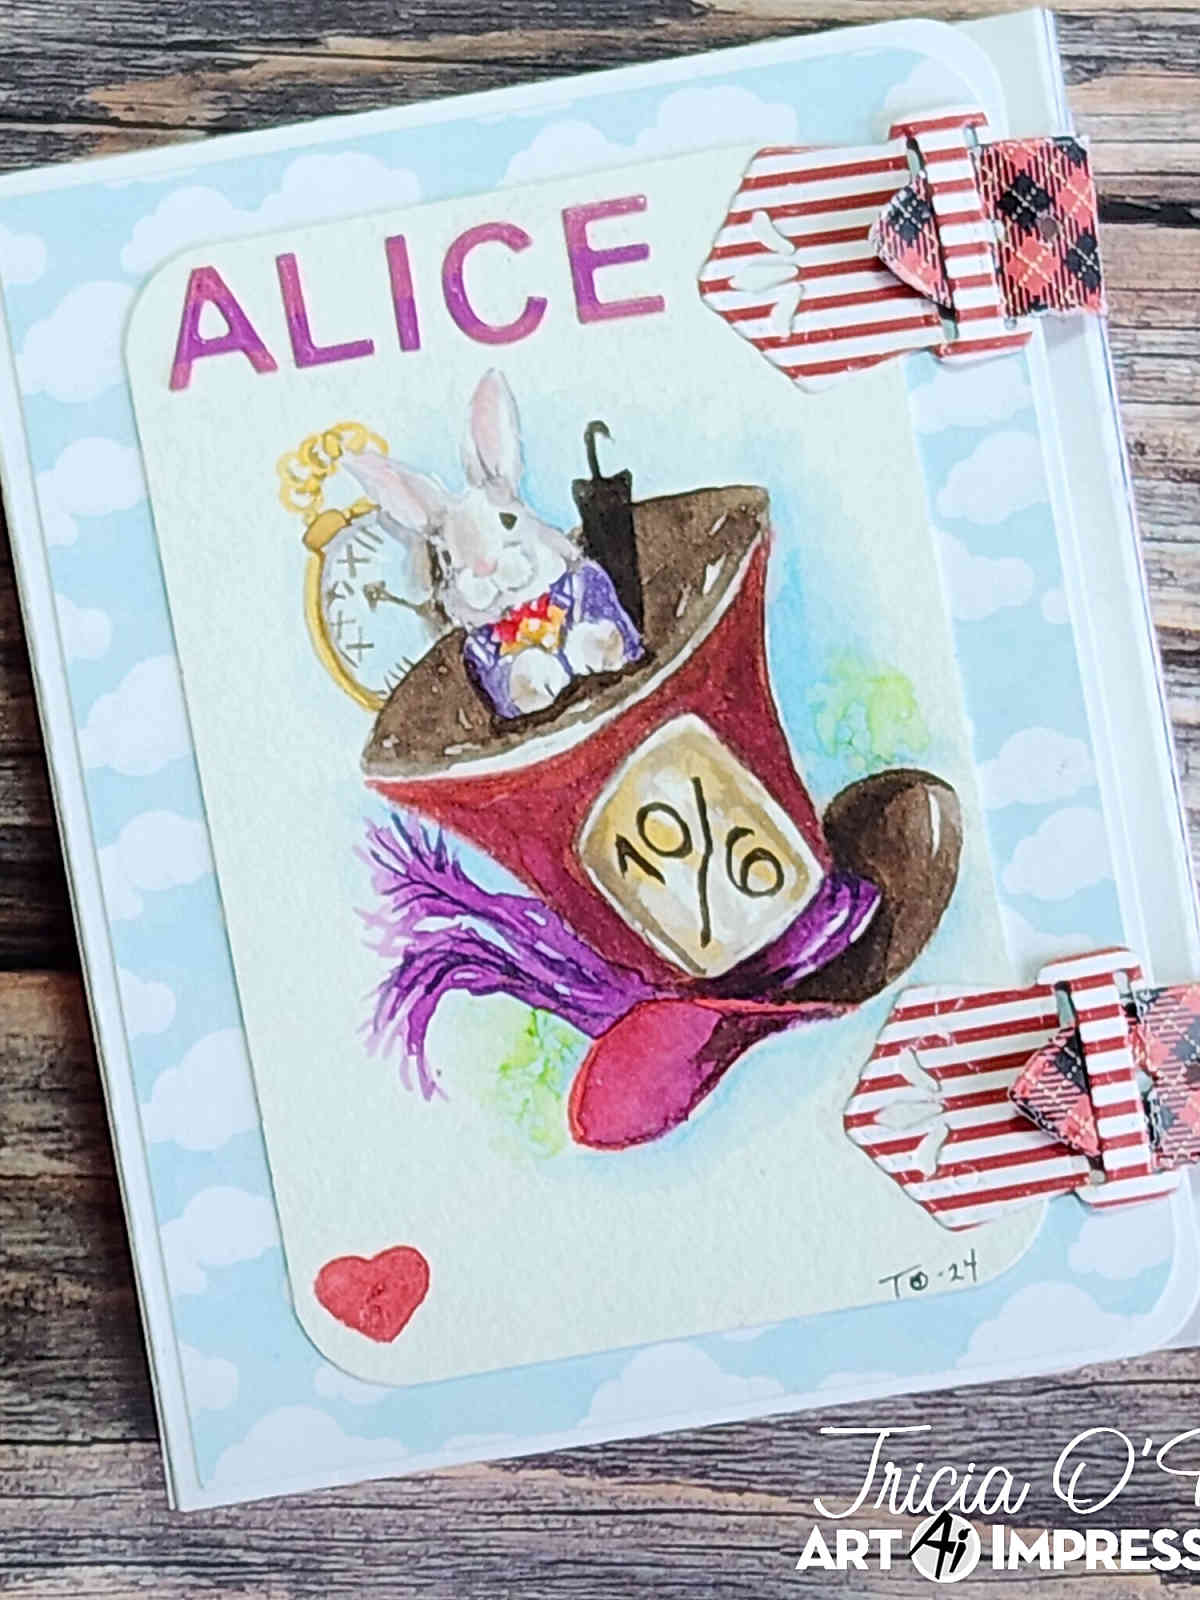
Welcome back! Today I thought I would share a quick and easy project showing you how to create this watercolor watering can. I decided to take a small break from winter projects and try out this watering can from the Art Impressions new releases. Let me share the project details with you.
Watering Can Project Details:
Step 1 – The Watering Can
Ink up the new watering can with Sepia and African Violet. Stamp it in the middle of the page. Using a #8 paintbrush, pull the color out of the lines into the middle of the watering can. Be sure to leave white space.

Step 2 – The Cobblestones and Sky
Using the palette, I created a sky with Manganese Blue and water. I also used to thirsty brush to pull some of the color up to make some hard edges and add interest. Cut a mask from a post-it note to place over the watering can. Again using the Sepia and African Violet, I stamped the cobblestones over the mask so it looked like the watering can was sitting in the middle of the cobblestones. I used my brush to pull the color out from underneath each of the cobblestones and brushed a little on top. I used a little more water than usual to get a really soft look.

Step 3 – The Flowers and Foliage
Once it was dry, I added the new flowers using Olive Green and African Violet and Iris. I also added leaves using the vine from the original foliage set. Add water to the blooms and leaves to soften them.

Step 4 – The Grasses
As with most projects, I used the small grass from the original foliage set inked up with Olive Green randomly next to and below the watering can. That’s it. Just sign and date and you have a perfect focal image for any card.

Step 5 – Finishing Touches
I thought I would share how I added this to a card. First, I took two of the stitched rectangles and my embossing mat to emboss around the watering can.  I used the next stitched rectangle to cut the painting out.
I mounted it on a piece of dusty rose card stock from Gina K Designs and mounted that on a folder card base.

Thanks so much for stopping by today. I hope you will join me, Dot and Tricia over at the Art Impressions Blog for Watercolor Weekend. Upload your projects on Instagram using #AIWatercolor and tag us, we would love to see your projects.
What’s Next? Check out the video and follow along with me!
Related: https://www.tobinartstudio.com/ai-watercolor-tutorial-vase-flowers/
Have a crafty day!


Very pretty!