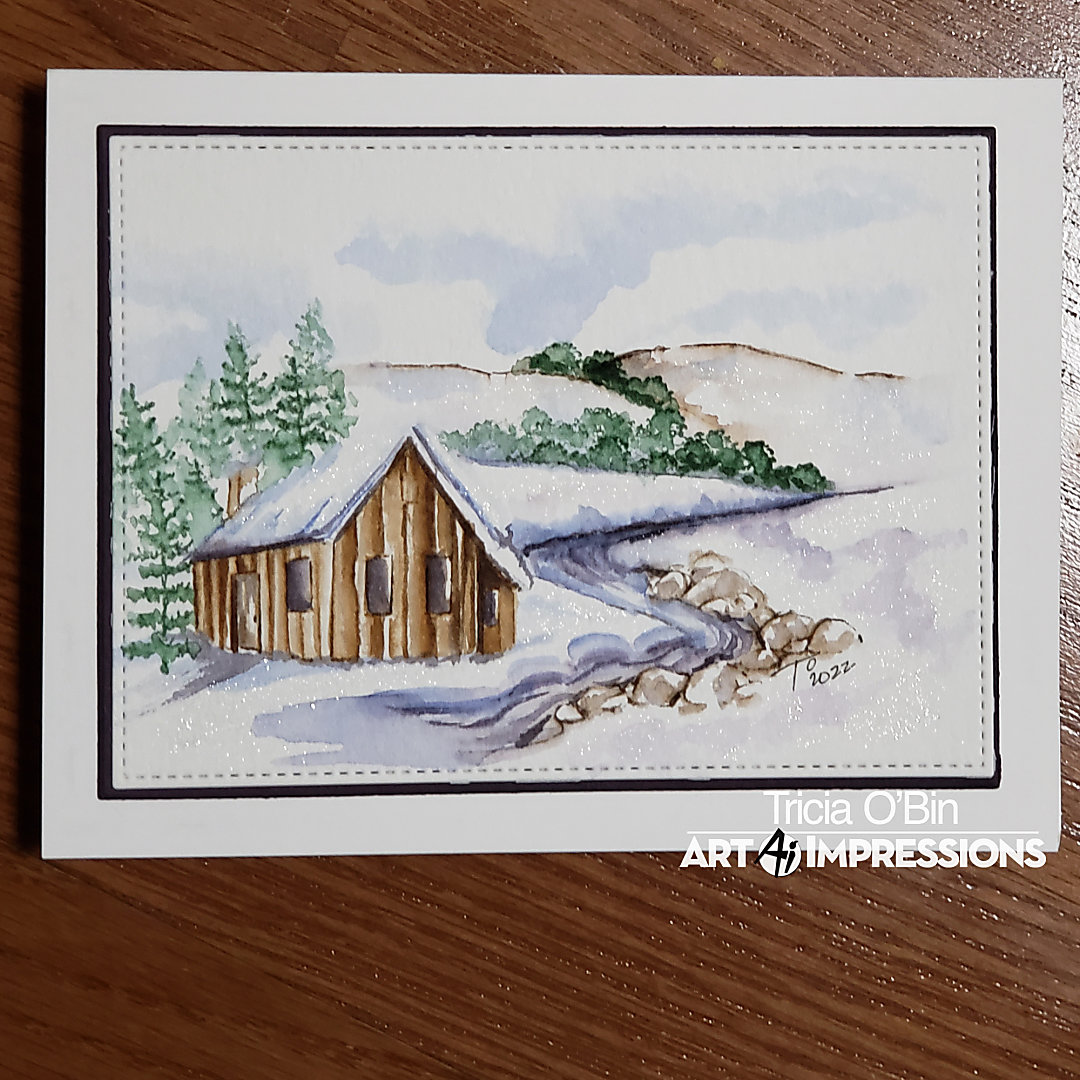
HAPPY NEW YEAR! Welcome to the first watercolor weekend of 2022. I am so thrilled you came by for a visit. I created a Winter Cabin for my first project of the year. It shows a little into our current view at our home in Northern VT. So sit back with something warm and I’ll tell you how I made it.
Step 1 – Winter Cabin (4962)
Using the large cabin from the Rustic Cabins Set, I inked up the bottom of the stamp (everything but roof) with 969. Then I inked around the roof with 569, making sure to not ink the lines in the roof, as we want it to look like it is covered in snow.
To activate the ink, I huffed on the stamp and stamped it off on a scrap piece of watercolor paper. I stamped it onto the watercolor paper. As always, I started by pulling the color out of the lines. I added some additional color from my palette and then added some vertical lines using the bullet nib of my 969. Using my small brush to pull the color from the lines I just drew, making sure to leave a highlight.
For the snow on the roof, drag the color out of the bottom of the roof using the belly of the brush to drag the color into the roof (lots of youtube tutorials on this!). I did the same on the other side. I cut a mask to protect the house as I stamped the Stone Creek scene.
Step 2 – Stone Creek Scene (5378)
I inked the scene with 969 (mountains and rocks) and 569 (water), stamped it off and stamped it to the right of the cabin. Next, I pulled color out of the lines. I used my bullet nib to create lines in the water to simulate the flow of the water.
Step 3 – Trees (5010 & 5372)
I inked up the large pine tree from the Tree Set 1 with 249. Utilizing my mask on the cabin, I stamped the pine tree several times to the left of the house. I inked up the small trees from the Mini Foliage set with 249 and added it to the hills behind the cabin.
Step 4 – The Sky
Using your palette, add any sky you want. I picked 565 and lots of water. Push the watered down color around to create the illusion of clouds.
Lastly, sign and date. As an afterthought I added some Wink of Stella to the snow.
RELATED: Snow Globe Farmhouse | Watercolor Weekend | Art Impressions
I cut the painting and mat out with the Gina K designs master layouts set 1. I glued it onto a Neenah card stock card.
Thanks so much for stopping by!! See you next time.

SUPPLIES:


Thanks for sharing another great design.
Love this winter scene. Looks so peaceful
Love this scene, so peaceful and inviting. A week here for rest would be awesome